
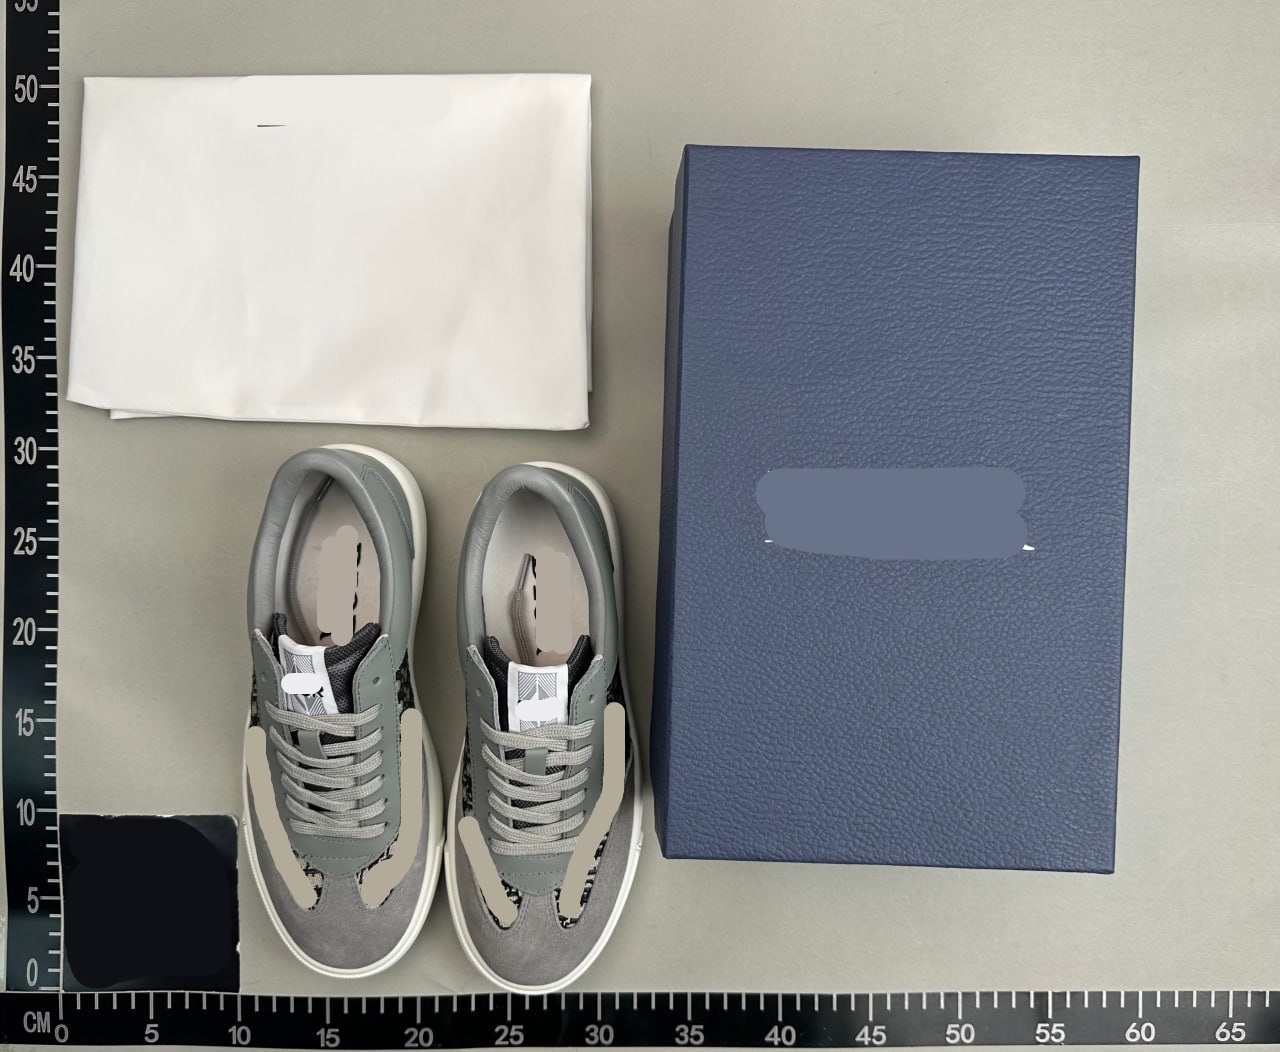
Start with the full shape
Look for front, back and side views taken from a similar distance. For paired items, both sides should be visible together so obvious differences are easier to notice.
Inspect construction points
Move closer to seams, hems, zippers, hardware and printed or embroidered areas. Neutral lighting is helpful because deep shadows can hide edges and surface variation.
Match the selected option
Photographs are only useful when they correspond to the chosen size, color or model. Compare visible labels and measurements with the option shown on the live listing.
Keep measurements in context
A ruler or tape should show both the starting point and the relevant edge. Check whether a value is a flat width, circumference or internal length before comparing it with a chart or an item you own.
Use a repeatable decision record
Note the photo date when available, the option reviewed and any missing view. A short record makes it easier to explain why an item was accepted, rejected or left for further clarification.
Quick process
- 1Full front and back
- 2Both sides or both items
- 3Detail views of stress points
- 4Visible measurement reference
Continue with a live category
Use the guide as context, then confirm current information on the destination listing.
Browse categories