
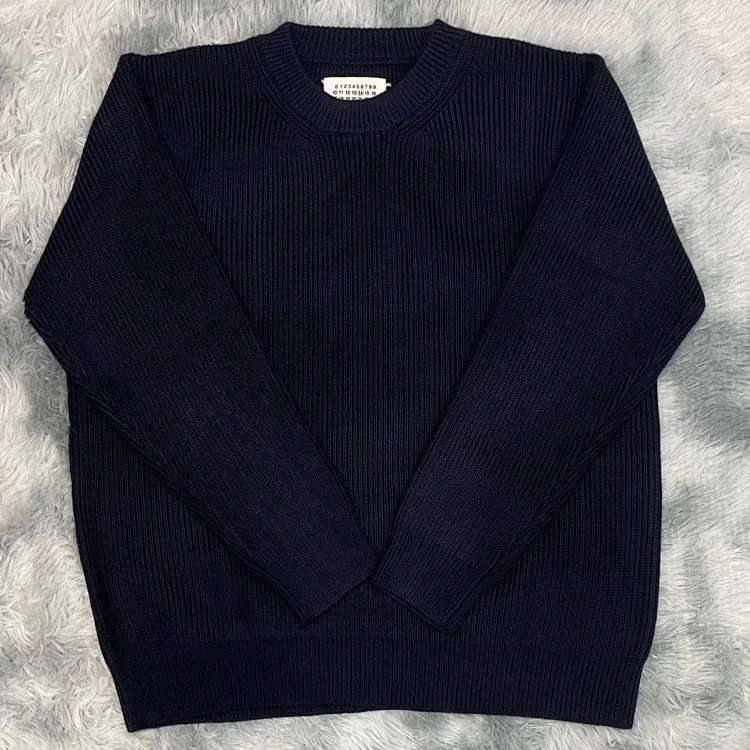
Choose a reference garment for the intended fit
Take a hoodie or sweatshirt that already works for the way you intend to wear the new item. If you want a layer beneath a jacket, use a reference that fits comfortably under that jacket. If you want a loose outer layer, choose a different reference if necessary. One favorite garment cannot represent every silhouette or layering situation.
Place it on a flat surface, close a zipper if appropriate and smooth obvious folds without stretching the fabric. Record whether the garment has been worn or washed and whether it is relaxed at the cuffs and hem. These observations help explain differences when you measure it again. They are not a reason to predict that a different fabric will change by the same amount.
Keep a short note about what you like and what you would change. You might want the same chest room with a shorter body, or a similar body length with sleeves that sit higher. This turns a vague oversized search into a set of separate dimensions. Buying the next letter size does not guarantee that only the desired dimension will change.
Distinguish flat chest width from body circumference
A flat chest measurement runs across the garment between defined points, commonly near the underarm seams. Follow the seller's illustrated method if one is provided, and use the same endpoints on your reference. Do not compare a flat garment width with a body circumference as though they were the same number. The chart must say what it measures.
For an illustrative example, suppose a reference sweatshirt measures 58 centimeters across the chest and a candidate chart lists 60 centimeters using the same flat method. The candidate is listed as 2 centimeters wider across that line. Doubling those widths gives a simple geometric comparison of 116 and 120 centimeters, but it does not establish actual body ease or how the garment will hang.
That example is not a real product measurement or a size recommendation. Fabric, side construction, armholes and the placement of the tape can affect interpretation. If the chart only says chest 120 without defining body or garment circumference, ask for its meaning before choosing. A clear definition is more valuable than a number that merely looks familiar.
| Dimension | Record the method | Common mismatch |
|---|---|---|
| Chest | Flat width and exact endpoints | Comparing it directly with body circumference |
| Body length | Starting seam and finishing edge | Back-center versus high-shoulder measurement |
| Sleeve | Shoulder seam or neck starting point | Comparing set-in and raglan methods |
| Hem | Relaxed width and any stated stretch | Treating stretched ribbing as the relaxed fit |
Measure body length without losing the starting point
Body length can be measured from the back neckline, a high shoulder point or another defined seam. These methods can produce different values on the same garment. Keep the start and end visible in a photograph of your own measurement. When comparing a listing, find its diagram or description rather than assuming every length column follows your method.
Include the hem or ribbed band only if the chart does. A deep ribbed hem may gather the body and affect how the sweatshirt sits, even when the total measured length looks suitable. A straight-cut hem can behave differently. The number is useful evidence, but the construction around that number determines which follow-up question matters.
Consider the trousers or jacket you plan to wear with the hoodie. Compare the reference outfit while standing normally and moving your arms. You are checking your preferred proportions, not enforcing a universal rule about where a hoodie should end. Record that preference separately from the listing's measurable facts.
Check shoulder construction before comparing sleeves
A dropped shoulder moves the sleeve seam away from the usual shoulder position. A raglan sleeve may be measured from the neck instead of a shoulder seam. A shorter sleeve number can therefore coexist with a longer overall reach. Do not choose between two candidates until the chart makes the construction and measurement method clear.
Use the reference garment's seam layout to decide what can be compared directly. If the constructions differ, ask for a comparable measurement or keep the sleeve comparison unresolved. Adding two values from incompatible diagrams may produce a tidy total with no reliable meaning. A useful spreadsheet preserves the diagram or method beside the number.
Look at the cuff and underarm area when matching photographs are available. Ribbing, sleeve width and armhole shape may affect movement or how the garment layers. A photograph can show their visible shape; it cannot prove stretch recovery, softness or comfort. Avoid turning a detail image into a claim about long-term performance.
Test the layering requirement with clothes you own
Wear the reference sweatshirt over the base layer you intend to use, then add your existing jacket if relevant. Notice where movement becomes restricted: chest, upper arm, underarm, shoulder or hood area. This exercise tells you which dimensions and construction details to prioritize in a listing. It does not tell you how an untested garment will feel.
If your main concern is upper-arm room, a larger chest width alone may not resolve it. If the hood crowds a jacket collar, body length is not the missing fact. Ask for the relevant dimension or a clear construction view. Keep each requirement distinct so that one appealing measurement does not conceal an unresolved limitation elsewhere.
Avoid assuming that a fabric will shrink or stretch by a particular amount. Record composition and care information only when the current listing supplies it, and do not manufacture a correction factor for a missing chart. Where a seller states a measurement tolerance, retain that wording and consider whether it could change your choice. An unstated tolerance should stay unknown.
Build a size decision that can be repeated
Create one row for the reference and one for each candidate size. Keep units consistent and record chest method, body length method, sleeve construction, selected color and the check date. Highlight the dimensions that matter for your use. A candidate can match one measurement and still fail another; do not reduce the comparison to a single overall size score.
Reopen the live listing before making a final decision. Confirm that the chart and photographs still belong to the selected garment and that changing the color or version has not introduced a different chart. Save the relevant details with the exact option. A chart found through an image search is not enough if its connection to the current listing cannot be established.
Finish with a short reason: dimensions are comparable and meet my reference, a particular dimension rules the item out, or information is still missing. Review the current terms on the destination before taking the next step. This guide supports a measurement process; Hacoo Pro does not sell the garment, verify its manufacturing tolerances or guarantee a fit outcome.
Your hoodie measurement record
- 1Use the right reference
Choose a garment that already suits the intended silhouette and layers.
- 2Match the endpoints
Write down flat chest, body length and sleeve methods before comparing the numbers.
- 3Keep fit decisions specific
Explain which dimensions work and which construction details still need confirmation.
Editorial method and related reading
This is an original editorial workflow, not a product test or a live offer list. Numerical examples are illustrative. The internal guides below explain the measurement and comparison methods; dated product references do not establish current stock, price or quality.
- Hoodies and sweaters category — explore the relevant clothing route
- Hacoo size guide — review body and garment measurement distinctions
- Measurement photo checklist — check tape placement and matching options
- Men's clothing shortlist — place the layer in an existing outfit
- Dated crew-neck reference — inspect a sample research record
Continue the buyer verification sequence
Each guide answers a different decision question, so use the pages that match the stage you have reached rather than transferring one conclusion to another.
- Hacoo Spreadsheet for Men: Build a Useful Clothing Shortlist — Build a small men's clothing shortlist around existing outfits, measured fit and evidence gaps instead of collecting unrelated links.
- Hacoo Shoes Spreadsheet: Compare Size Charts and Fit Evidence — Separate foot length, insole length and outsole length, then compare the exact shoe option with a repeatable measurement record.
- Hacoo Budget Finds: Compare the Total Cost of a Shortlist — Use the same destination, currency and options when comparing budget finds, and keep unknown charges out of false bargain rankings.
Bring measurements to the hoodie category.
Use a familiar garment and a defined measurement method to make each candidate easier to compare.